Using the affiliate links below helps support the channel and all the content I create 🎉🙌
Prerequisites#
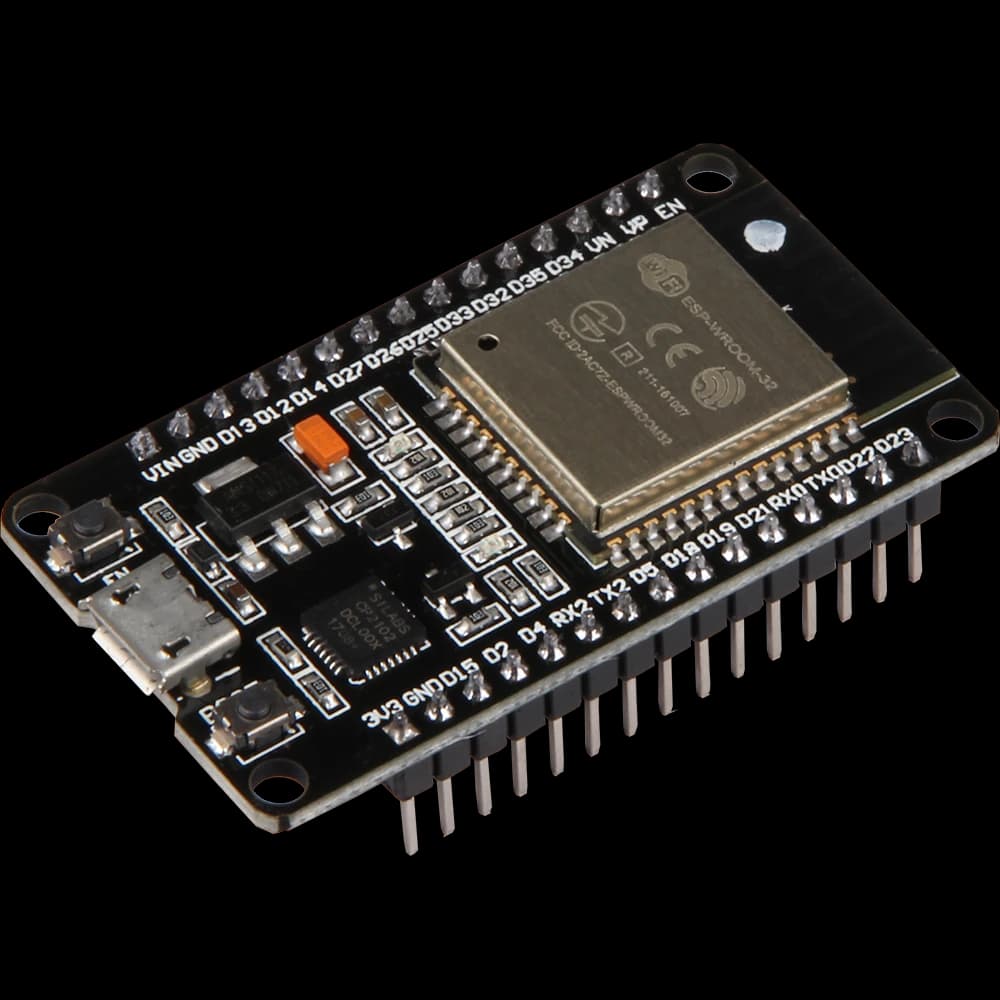
- ESP32 Development Board
- Amazon: (3 pack)
- Aliexpress: (30PIN microUSB)
- Aliexpress: (38PIN microUSB)
- ESP32 Case with Home Assistant Logo to 3D-print:


Install Mosquitto Broker Add-on#
ESPresense Installation#
Click here to be redirected to the ESPresense Installation page.
How to track your Android Phone#
Install the Home Assistant Companion App
Install to be able to track your Android Phone with ESPresense
How to track your MiBand#
Notify & Fitness for Mi Band
Install to activate discoverability for your Mi Band if not present on the Zepp Life App
How to track your iPhone#
iOS Enroll flow
just add
/ui to you ESPresense IP addressFollow the instructions on the screen to enroll your iOS device for Reliable BLE tracking
How to Create a Sensor#
config/configuration.yaml
sensor:
  - platform: mqtt_room
    device_id: "iBeacon:xxxxxxxx-xxxx"
    name: 'Oneplus7 BLE'
    state_topic: 'espresense/devices/iBeacon:xxxxxxxx-xxxx'
    timeout: 10
    away_timeout: 60
How to use it with a Device Tracker#
config/known_devices.yaml
oneplus7:
  hide_if_away: false
  name: OnePlus7
  mac:
  icon:
  picture:
  track: true
Automation to translate ESPresense Sensor to Device Tracker#
config/automations.yaml
alias: Update OnePlus 7 Device Tracker
description: ""
trigger:
  - platform: state
    entity_id:
      - sensor.oneplus7_ble
condition:
  - condition: template
    value_template: "{{ trigger.from_state.state != trigger.to_state.state }}"
action:
  - service: device_tracker.see
    data:
      dev_id: oneplus7
      location_name: |
        {% if trigger.to_state.state in ['livingroom', 'entrance', 'bedroom', 'bathroom'] %}
          home
        ## Erase the next two lines if you don't want to use the not_home state
        {% elif trigger.to_state.state == 'not_home' %}
          not_home
        {% else %}
          unknown
Manage People in HA#
Make your music Follow you around the house#
Full tutorial here